
Although many of us don't think about them when editing videos, video captions are actually an important part of the YouTube experience for many viewers. It's easy to add them, and having captions will open up your content to a many new viewers. Adding video captions is a super fast way to instantly make your content appealing to a new demographic and get more views. Fast growth is especially important for YouTubers hoping to monetize their channels, so if monetization is one of your goals, then this article will be especially useful for you!
Did you know...
"On average, two-thirds of a channel's views come from outside the creator's home country."
- YouTube Creators Academy
Video captions can assist certain viewers such as those who are deaf or hard of hearing, not to mention viewers who rely on captions for videos spoken in languages different than their own. By ignoring captions, you are also ignoring the opportunity to bring in more viewers.
So if you're sold on adding captions to your videos, just scroll down below to see the options available to you. We've covered every possible method for adding captions, so you can choose whichever method you prefer!
How to Add Captions to YouTube Videos to Increase Views :
1. How to Access Caption Editing
Read this step-by-step guide to find out how to access the caption editing function on YouTube.
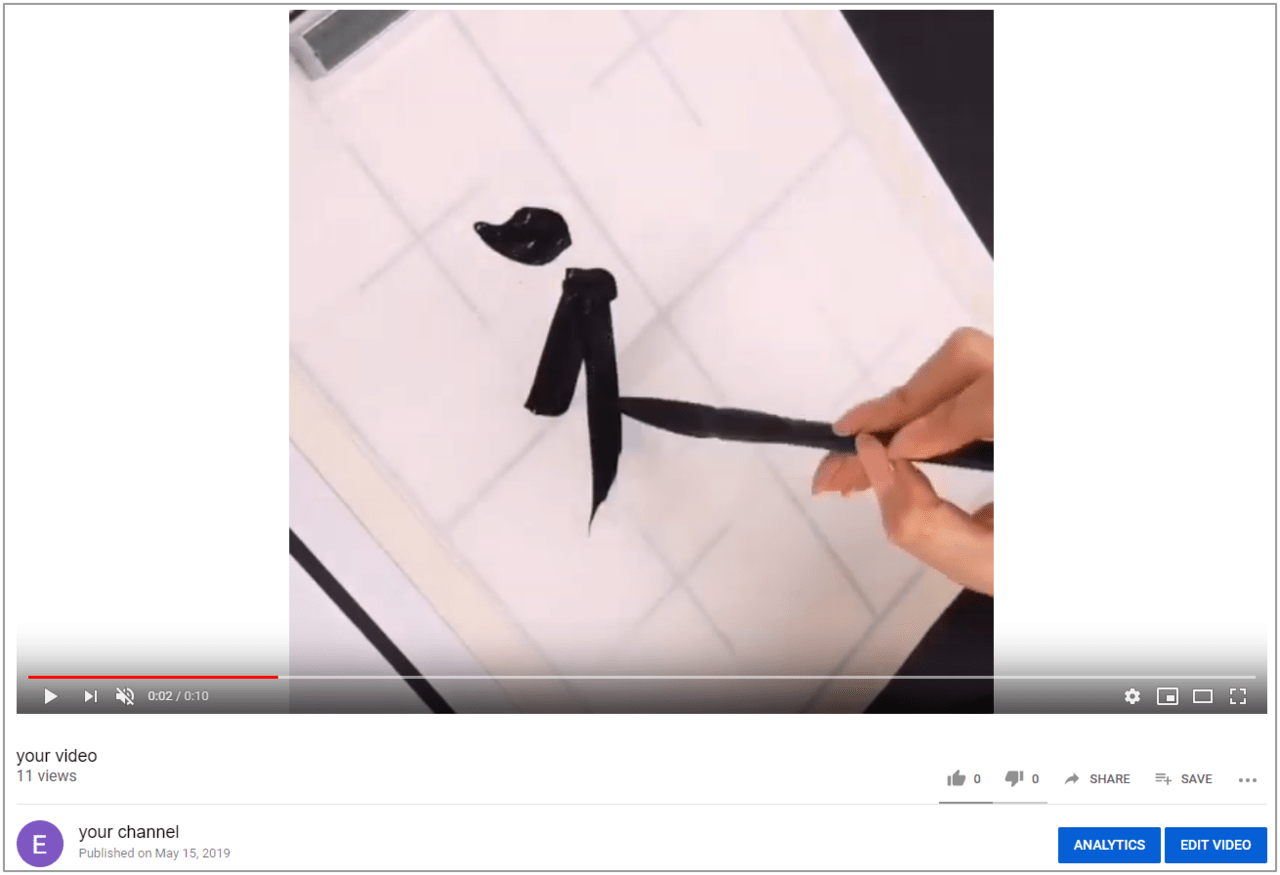
Step 1
Go to the video that you want to add captions to.
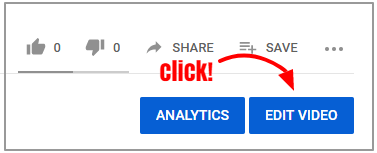
Step 2
Click on the blue Edit Video button beneath your video.
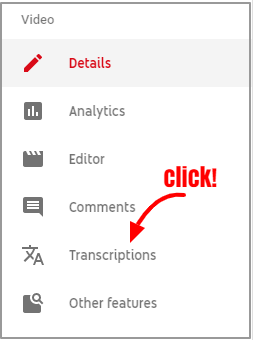
Step 3
In the column on the left, click on Transcriptions.
Step 4
Click on Add under the Subtitles label.
Step 5
Depending on the way you choose, click either:
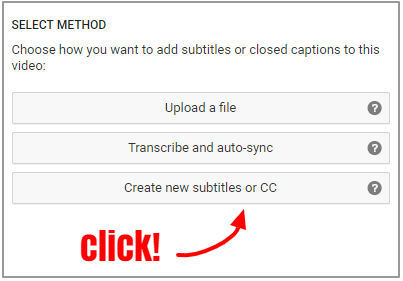
2. Use Automatic Captions
This is absolutely the easiest way to add captions among all those listed in this guide. You simply need to enable the automatic captions and YouTube will add them into your video for you. It's that simple.
The downside to this option is that the quality may not be the best. Although the automatic captions have greatly improved over time, the accuracy will vary depending on several factors such as your video's audio, speaking speed and clarity, and other issues such as noise disturbances.
The bottom line is that if you don't have much time to dedicate to your video captions, then we suggest using the auto-generated captions at the very least. It's better to have some captions than none at all.
Did you know...
"YouTube can use speech recognition technology to automatically create captions for your videos. These automatic captions are generated by machine learning algorithms, so the quality of the captions may vary."
- YouTube Help
How to
We'll show you how easy it is to add automatic captions to your videos. Just follow the steps below!
Note from YouTube:
"This feature isn't available in YouTube Studio beta yet. If you’re in YouTube Studio beta (studio.youtube.com), select Creator Studio Classic in the left menu to follow these steps."
- YouTube Help
Steps from YouTube:
Step 1
Go to your Video Manager in the Classic Creator Studio mode.
Step 2
Next to the video you want to add captions or subtitles to, click the drop-down menu next to the Edit button.
Step 3
Select Subtitles and CC.
Step 4
If automatic captions are available, you'll see Language (Automatic) in the "Published" section to the right of the video.
Step 5
Review automatic captions and use the instructions to edit or remove any parts that haven't been properly transcribed.
3. Create New Subtitles or CC
To create subtitles from scratch, watch your video and type the subtitles as you listen. This ensures precision but it can be very time consuming depending on how long your video is and/or how much speaking is in the video.
The video below is less than one minute and will visually demonstrate how to add your own subtitles to a video.
Note:
You can also allow viewers to customize subtitles and add them to your video in a variety of languages! Simply turn on the option for Community Contributions while you are in the "Transcriptions" section of the video editor.
Did you know...
"YouTube captions are indexed and read by YouTube and Google. Google gives higher preference to videos which are more informative and puts them on the top of the search results page."
- Vidooly
4. Transcribe and Auto-Sync

This option is probably the fastest if you're planning on DIYing your subtitles because you want them to be as accurate as possible. YouTube will automatically sync your subtitles to the timing of the spoken words, which makes this a really hassle-free method!
The one downside is that you will have to create a video transcript on your own. This means typing all spoken words into the transcript text box.
If your video is short or there's not too much talking, then this would be the best option if you care a lot about subtitle quality and don't want to risk using the automatically generated subtitles.
5. Upload a File
Uploading a transcript file is very similar to the previous method but instead you upload the transcript as a file rather than pasting or typing it into the text box. This method is definitely more work intensive than allowing YouTube to automatically generate the subtitles.
For this reason, this method is best for those who want perfect subtitles and value quality above all else.
Did you know...
"Transcripts work best with videos that are less than an hour long with good sound quality and clear speech. Keep in mind that the transcript file needs to be in the same language that is spoken in the video."
- YouTube Help
6. What We Learned

In this article, the entire focus was on making your videos more accessible to all users of YouTube. Focusing on accessibility is a smart way to get more views, because after all, YouTube values informative videos and captions are certainly an important part of that.
You should now have a solid understanding of all the ways you can add captions to your videos. Take some time to think about what you value: speed or quality? Based on your answer, you can choose a method that suits your video-making workflow.
For similar articles that will teach you even more ways to get more views and subscribers, check out the articles linked below!